

Want to flood your home with natural light? Installing a skylight on a metal roof is a fantastic way to achieve that! This guide provides a detailed, step-by-step approach to help you tackle this DIY project safely and effectively. From planning and choosing the right skylight to the final sealing, we’ll cover everything you need to know. While it’s a manageable project for experienced DIYers, remember that roof work can be dangerous.
Why Install a Skylight on a Metal Roof?
Metal roofs are becoming an increasingly popular choice due to their exceptional durability and long lifespan. With our professional skylight installation services, you can elevate your metal roof by adding natural light, improving energy efficiency, and enhancing the overall aesthetics of your home or business.
- Increased Natural Light: Skylights bring abundant natural light into your home, reducing the need for artificial lighting and creating a brighter, more inviting atmosphere.
- Energy Savings: Natural light reduces reliance on electric lights, lowering your energy bills. Skylights can also provide passive solar heating during colder months.
- Improved Aesthetics: Skylights add a touch of elegance and sophistication to any room, enhancing its overall appeal.
- Ventilation: Some skylights can be opened to provide natural ventilation, improving indoor air quality.
Planning and Permits
Before you even think about picking up a tool, it’s crucial to do your homework. Check your local building codes. Many areas require permits for skylight installation to ensure compliance with safety standards. Ignoring this step can lead to fines or even forced removal of the skylight. Make sure you’re aware of all the regulations in your area.
Installing a skylight on your flat roof is a great way to introduce natural light and fresh air into your home. This guide covers everything from planning and preparation to installation and maintenance, giving you the confidence to take on this DIY project. However, if cutting into your roof feels daunting, we’re here to help! Check out our comprehensive DIY guide here: How to Install a Skylight on a Flat Roof.
Choosing the Right Skylight
The type of skylight you choose will depend on your roof’s design, your budget, and your desired features. Here are a few common options:
- Curb-Mounted Skylights: These are installed on a raised frame (curb) built around the opening in the roof. They are a good choice for metal roofs with a low slope.
- Deck-Mounted Skylights: These are installed directly onto the roof deck. They are typically more energy-efficient than curb-mounted skylights.
- Fixed Skylights: These do not open and are primarily for bringing in natural light.
- Venting Skylights: These can be opened to provide ventilation.
Consider the size of the skylight. A larger skylight will bring in more light, but it may also be more expensive and require more extensive modifications to your roof. Also, think about the glazing (glass or plastic) material. Look for energy-efficient options with UV protection to prevent fading of furniture and flooring. Consider reading up on different glazing options.
Gathering Your Tools and Materials
Safety is paramount, so gather all the necessary tools and materials before you start. Here’s a checklist:
- Safety Glasses
- Work Gloves
- Safety Harness and Rope (if working on a steep roof)
- Measuring Tape
- Pencil or Marker
- Circular Saw with Metal Cutting Blade
- Drill with Various Bits
- Metal Cutting Shears
- Caulk Gun
- Sealant (Specifically for Metal Roofs)
- Flashing (Compatible with Your Metal Roof)
- Screws or Nails (Appropriate for Metal Roofing)
- Ladder
- Scaffolding (optional, but recommended for safety and easier access)
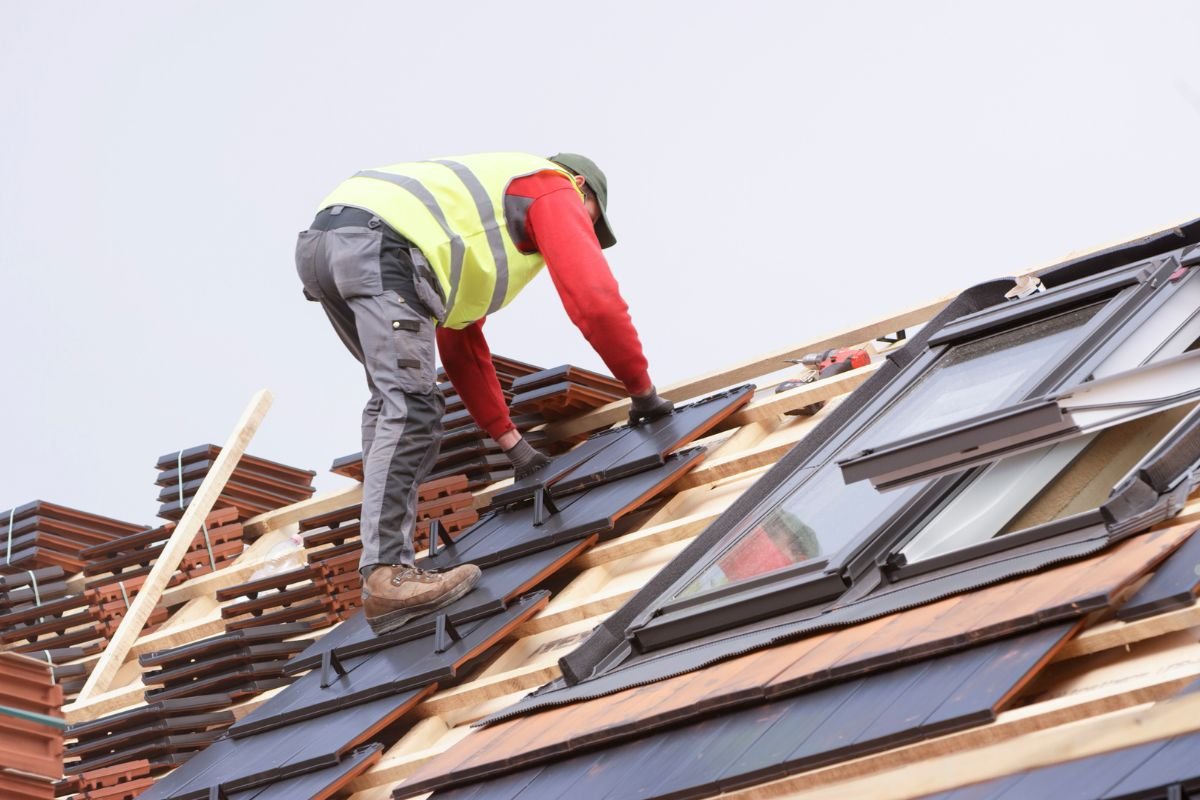
Safety should always come first when installing a skylight on your metal roof. Before you begin, make sure you have all the necessary tools and materials ready. Essential safety gear includes safety glasses, work gloves, and a harness with a rope if working on a steep roof. You’ll also need a measuring tape, pencil or marker, circular saw with a metal-cutting blade, drill with various bits, metal-cutting shears, and a caulk gun. Don’t forget roofing-specific sealant, compatible flashing, and the right screws or nails for your metal roof. A sturdy ladder is a must, and scaffolding is highly recommended for better access and added safety. If you’re unsure or prefer professional installation, call us today for expert assistance!
Step-by-Step Installation Guide

Disclaimer: This guide provides general instructions. Always refer to the skylight manufacturer’s instructions for specific details and safety precautions.
- Marking the Opening: Carefully measure and mark the location of the skylight on your metal roof. Use a template (often provided with the skylight) to ensure accurate dimensions. Double-check your measurements before cutting.
- Cutting the Metal Roof: This is the most critical step. Use a circular saw with a metal cutting blade to carefully cut along the marked lines. Wear safety glasses and gloves to protect yourself from flying debris. Be very cautious to avoid damaging the surrounding roofing material. Consider using metal cutting shears for finer cuts and corners. Always refer to safe metal cutting practices safe metal cutting practices safety guide or OSHA resource.
- Building the Curb (if necessary): If you’re using a curb-mounted skylight, you’ll need to build a sturdy curb around the opening. Use pressure-treated lumber and ensure it’s properly secured to the roof structure. The curb should be level and square to provide a solid base for the skylight.
- Installing the Flashing: Flashing is essential for preventing leaks. Install the flashing according to the manufacturer’s instructions, ensuring it overlaps the surrounding roofing material and creates a watertight seal. Use sealant specifically designed for metal roofs.
- Installing the Skylight: Carefully place the skylight onto the curb (or directly onto the roof deck for deck-mounted models). Secure it according to the manufacturer’s instructions, using the appropriate screws or nails.
- Sealing the Skylight: Apply a generous bead of sealant around the perimeter of the skylight, where it meets the flashing and the roofing material. This will create a final barrier against water intrusion. Choose a high-quality sealant that is specifically designed for metal roofs and is resistant to UV degradation. Ensure you read about the best sealant to use with metal roofing best sealant to use with metal roofing.
Inspection and Maintenance
Once your skylight is installed, it’s important to inspect it for any signs of leaks. Check the flashing and sealant for gaps or cracks, ensuring a tight seal. Keep the skylight clean by removing dirt and debris regularly. Perform thorough inspections at least twice a year, especially after severe weather, to spot any damage like cracks or broken seals. For professional maintenance or repairs, call us today!
Troubleshooting Common Issues
- Leaks: If you notice leaks, check the flashing and sealant for any damage. Reapply sealant if necessary. If the leak persists, you may need to replace the flashing.
- Condensation: Condensation can occur on the inside of the skylight during cold weather. Ensure proper ventilation in the room to reduce condensation.
Safety First: Essential Precautions
- Wear Safety Gear: Always wear safety glasses, work gloves, and a safety harness when working on a roof.
- Use Proper Ladders: Use a sturdy ladder that is properly secured. Never overreach or lean too far.
- Work in Good Weather: Avoid working on the roof in wet or windy conditions.
- Have a Helper: It’s always best to have someone assist you when working on a roof.
Enjoy Your New Skylight!
Installing a skylight on a metal roof is a rewarding project that can transform your home. By following these steps and taking the necessary precautions, you can enjoy the benefits of natural light and improved aesthetics for years to come. Remember, if you’re unsure about any aspect of the installation, don’t hesitate to Contact us for professional assistance.